Friday, October 12, 2012

It's been a while!

Well, it's been a long time since I posted.  I've really got to get better at this.  I've had a couple of projects going on since this summer and the latest was a custom order to redo two pieces of furniture.  They were pieces the woman had that had been in her family for decades.  She didn't really have much information on them, but knew they had been her mother's when she was a child.  One piece was an old childrens' chifferobe (sorry, no before pictures) and the other was some sort of cabinet.


Both were covered with many layers of drippy old paint which had been done in previous years many times before without ever having any of the hardware removed.  It was going to be challenging...

 and a lot of sanding/paint removal,

 
But worth it.


  And I was really excited about it!
 
   So I went to work stripping the paint, which incidentally I didn't realize could have been lead paint. You should ALWAYS be aware if the piece is older that there may be lead paint on it which you need to use special precautions for if stripping it, rather than painting over it. Here's a link for safe Lead paint removal. 

The owner wanted me to try to come as close as possible matching her dining room chairs


Now, not knowing what was underneath the paint, I told her I would do my best, but she had to understand that it wasn't a guarantee.  She was wonderful to work with.  I ended up calling her a few times during the project to keep her informed of what progress was being made and how long it might be before they were back to her.  That's the beauty of doing this from home, you set your hours and know what you are able to fit it, when.    
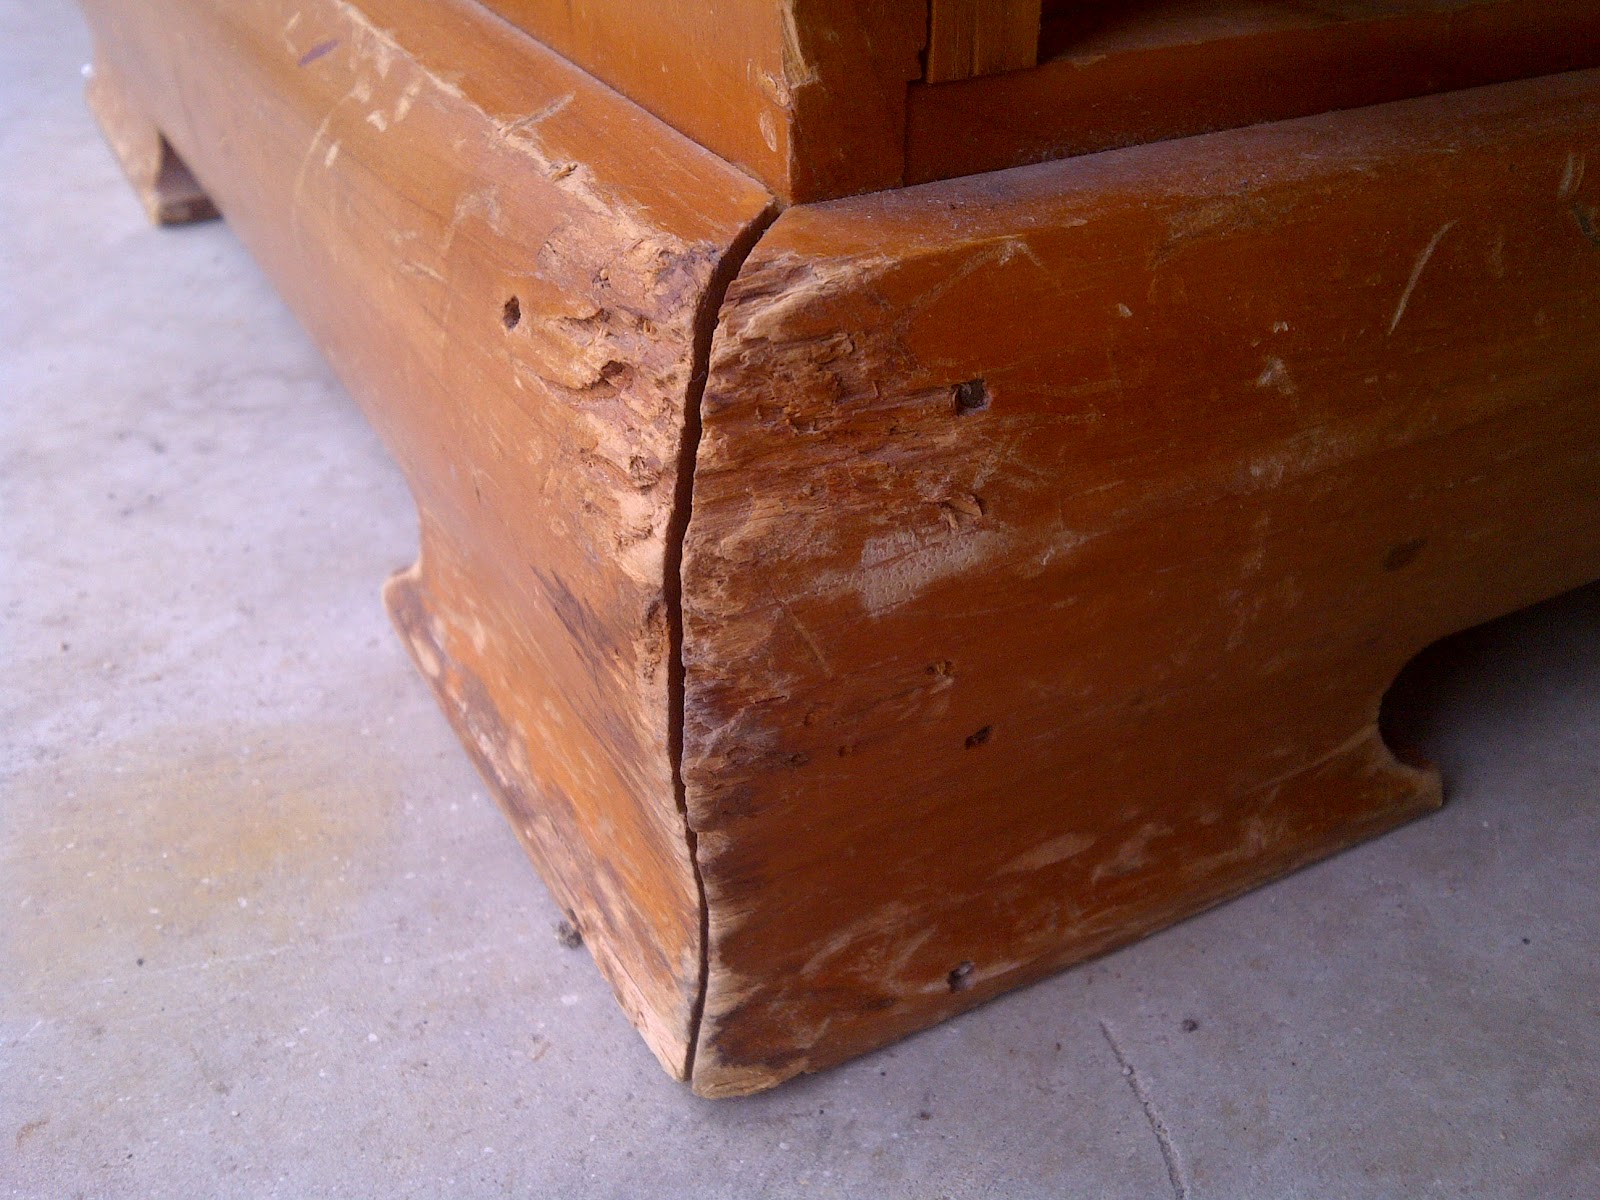
The stripping began.
   And it became apparent that I had more work than I had bargained for.  But, hey, that too, is part of the business.  You don't do it unless you love it! I consider this "therapy."   
The painting ensued, hinges were replaced, and the outcome was beginning to look good!


I used my phone to take these and the quality is just not there, so the paint looks dull and flat.  It was actually a semi-gloss finish which looked really beautiful for this chifferobe.  Behind the door on the right, is an open cabinet with a pull-out clothes hanging bar for children's clothing.  So adorable!  Every new mom needs to have a piece like this!  Of course, the owner is now using it for her dining room, so I suppose I should have removed the clothes hanging bar for her.. SORRY!  :)

The other cabinet was missing two drawers when she gave it to me, so I cleaned up the painted area so that she can put baskets in the place where the drawers would have gone. And she is going to replace the white knobs with handle pulls that match the first pieces' knobs.

In the future, I'll get more organized and get those great before and after pictures.  Right now, I'm lucky to have the time to get the pieces done! 

Tuesday, July 3, 2012

Our Collection


Before

Near completion
lightly distressed
Restored antique side table

Two-tiered occasional table

Shabby chic look

Beautifully made
Pine buffet before

A bit on the rough side
Deep gouges

After

  
Antique 5 Drawer Chest, before


Shabby Chic Robin Egg Blue


Sunday, July 1, 2012

Fabulous find!

I just love it when I come across something so unexpected and different!  Check out this unique table lamp.  Now usually the words table and lamp don't belong together in my vocabulary.  I get this vision of a dark wood table, a magazine rack on the bottom, brass lamp post coming up through the middle, with a horrible beige plastic lampshade sitting crooked at the top - possibly a hole burned in the back of it because of the always tilted shade. Don't forget the half-full ash tray on it. LOL! Oh, Lord - I just relived a piece of my childhood!  
This is NOT that.  Something from the 70s no doubt - but not THAT:


Pretty unique, huh?  The fact that my husband didn't pull me away from it says it's not all that bad.  Definitely different.   Not sure yet where this one is gonna go.  Maybe I'll keep it - for now.  

Tuesday, June 26, 2012

DIY redecorating projects.

Nothing beats having a vision of a project and making it come to fruition.  (Is that really how it's spelled?) 

A few years ago, my husband and I got sick of looking at our kitchen the way it was when we bought the house.  We knew that getting new cabinets and having the kitchen redone professionally was just not in the budget at the time.  It just wasn't going to happen.  This kitchen however was very, ah-hem, colorful.  


Please ignore tacky Halloween decorations!  The focus in this picture, aside from that gorgeous baby-girl, should be the peeling (although you can't really tell in this picture) green cabinets and off-white painted brick.  It gets better.  Look at the space above the cabinets.  It's literally a faux wall!


The fuscia/mulberry color above the cabinets (and yes, this is the same kitchen with the cabinets stripped) has a rather hideous wall border above it.  This is the color combination we thought we could live with for a while. It was a loooonnngg while.  To top it off, literally, the wall above the cabinets was nothing but a thin piece of I-don't-know-what just placed there, above the cabinets to cover up the unwanted hole in the top  of the cabinet above the range. Did I mention yet that this house was built in the 70s by a guy who had no business building anything, much less a house?  Ya, it's our money-pit!

Here's another shot of the kitchen:  


So you get the idea.  It needed work.  What we didn't know at the time we started this project was that the cabinets are not hard wood, they are compressed wood, with a wood veneer only on the raised part of the door fronts.  Needless to say, this being our first major remodeling project together, we did the best we could, and it came out looking much better in my opinion.  But if I knew then what I know now, the kitchen would look a whole lot better!  Should have done my homework then! 

This is our kitchen after completion, but before some of the pretties were added:


We ended up changing the light fixtures and the space above the cabinets is now open and we have since decorated the area.   We also changed out the old range for a new under the cabinet microwave. 


These pictures are not a wonderful quality since I took them tonight at midnight with my phone. (Actually, midnight has nothing to do with it, lol)  Sorry!  But you get the idea, again. 


Please excuse the messy kitchen, with somewhat cluttered counter-tops, which by the way is the only thing I'd still like to tackle.  That's a DIY project  for another day. 


So as you see, it was a project well worth the time and effort.  And not that the kitchen wasn't nice after we finished the painting and putting new light fixtures and the microwave in, but seriously folks, that empty space above the cabinets was just so bland until my partner in crime rocked her decorating skills and took things I already had and jazzed it up!  Made a HUGE difference.  Yes?


We love to hear your feedback!  Leave a comment, or feel free to email us at aplaceforeverything12@gmail.com

Until next time - under His wing...

Monday, June 25, 2012

A little bit of what we do

Our mission as a business is to help others be happy with their homes, for less. Being stay-at-home moms with lots of kids, we know what it's like to be under a strict budget.  We don't live in mansions, we have messy rooms at times and we often live in turmoil.  But there are a few positive constants.  Our faith in God, and our love for redecorating on a budget!  Often times, you can redecorate in your own home without spending a dime.  Example:    I had this beautiful wine hutch and the placement of it was all wrong.  All it took was a little shifting and it was beautiful again. 


The biggest changes can be made with things you already have.  We'd love to show you how you can change something around in your home and make an unused room into a place you want to be again!


Another huge way to save money is to buy 2nd hand furniture inexpensively from yard sale, craigslist, a thrift store, or even on the side of the road, and repaint it!  You can do some amazing and truly unexpected things with a bit of paint and stain.
This is a piece we got dirt cheap at a 2nd hand store.  It just didn't fit the decor that way so....

We gave it a little chalk paint and distressed it... it looked perfect for the craft room we did for a customer.

Sometimes things just don't have that POP the way they are:


But give it a little paint, and ..... 
POP!!!  Now doesn't that look so much cuter!  Simple.
Just a little change, and it made a BIG difference.    

I hope we can inspire you to make your own changes for less, but we're here if you need us - just send an email to aplaceforeverything12@gmail.com.    

Bye for now!

Saturday, June 23, 2012

New at this blog thing...

Well, I started this blog a few weeks ago, got frustrated because I didn't know what I was doing, and left it.  Here I am again.  This time, I'm getting the hang of it.  I think.  I'd like to personalize this, but one thing at a time.  Right now, I'm just lucky I know how to post a picture.  Since I know how to do that, I'll post some of the pieces we have.

Beautiful little side table in aqua  


This is the "before" picture of an antique dresser we found at a thrift store 
 
And we gave it a new shabby chic look in light blue with glass knobs and pulls.  I'll have to get a closer picture of the beautiful detail.

This is the next "to do" piece.  A beautiful buffet.  Love the detail on this one.  It's gonna look gorgeous!  Pondering whether I should save it as a custom piece or not.  Suggestions welcome.